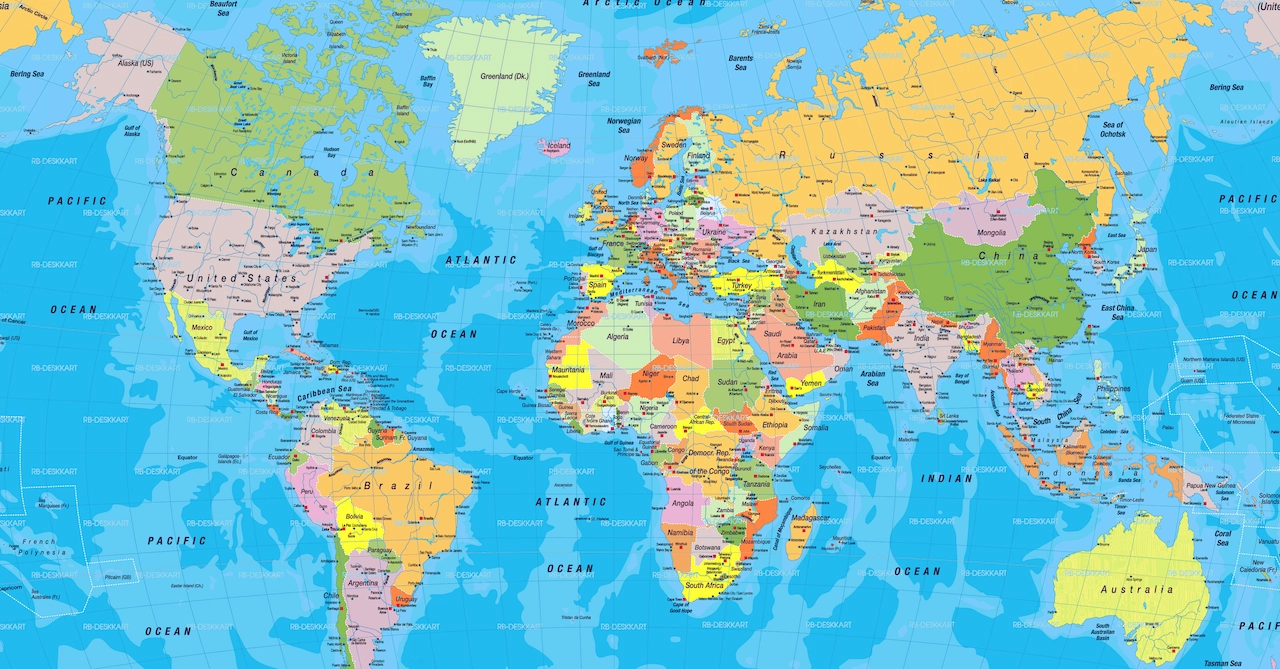
Pressing Print Screen on a web map usually leaves you with a pixelated graphic covered in search bars, floating buttons, and navigation pins. When you crop in, street names turn into unreadable blocks of pixels, and zooming in destroys the surrounding context you actually needed.
The problem stems from how modern mapping services operate. Platforms like Google Maps, OpenStreetMap, and Mapbox do not serve static image files. Instead, they use dynamic HTML5 canvas and WebGL engines that assemble square tile grids and vector labels on the fly based on your screen’s resolution. On a standard 1080p monitor rendering at 96 dots per inch (DPI), your browser only requests assets sharp enough for that exact viewport. A basic screenshot captures that low-DPI output—fine for a quick glance, but muddy when printed, projected, or cropped.
You do not have to settle for fuzzy, cluttered maps. By hiding UI overlays, leveraging browser developer tools, using canvas-compatible extensions, or assembling tile sets in GIS software, you can export pristine, publication-grade map images at custom dimensions and resolutions.
How to clean up map interfaces
Before capturing a map, strip away interface elements that obscure the geography. Native platform controls handle basic clutter, while browser tools let you eliminate whatever remains.
Collapse native panels and controls
Start with the platform’s built-in view controls:
- Google Maps: Click the small arrow next to the main search box to collapse the side panel. In satellite view, open the layer menu to turn off 3D buildings or labels for an uncompromised view.
- OpenStreetMap: Use the right-hand layer menu to hide data overlays, notes, and routing panels, leaving only base map tiles.
- Bing Maps: Collapse the left navigation pane using the sidebar chevron to maximize map real estate.
Remove stubborn UI overlays
Persistent elements like zoom controls, compass needles, search boxes, and promotional banners often lack a hide button. You can remove them in seconds using your browser’s Developer Tools:
- Right-click the element you want to remove and select Inspect.
- In the Elements panel of DevTools, hover over the highlighted HTML node to confirm it matches the element you want to remove.
- Press Delete on your keyboard to clear the node from the live page, or add display: none; to its style rules in the CSS pane.
- Repeat this process for remaining zoom buttons, layer toggles, and floating cards.
If you accidentally delete part of the map canvas itself, refresh the page to restore the default interface.
Use clean embed links
Another reliable trick is using the platform’s embed feature. In Google Maps or OpenStreetMap, select Share > Embed a map. Copy the source URL from inside the iframe snippet and paste it directly into your address bar. Embed URLs render a minimal interface free from search sidebars, profile icons, and marketing popups.
Using Developer Tools
You do not need a high-end 4K or 8K display to capture high-resolution map screenshots. Chromium-based browsers (Google Chrome, Microsoft Edge, Brave) and Mozilla Firefox allow you to emulate large screen dimensions and high-density displays directly inside your current browser window.
Emulating custom resolutions and High-DPI screens
Web map services read your browser’s Device Pixel Ratio (DPR) to decide whether to serve standard tiles or high-density “Retina” assets. Forcing a higher DPR makes vector labels, roads, and satellite details render with extreme crispness.
- Open your target map and press F12 (or Ctrl + Shift + I on Windows / Cmd + Option + I on macOS) to open Developer Tools.
- Click the Toggle Device Toolbar icon (or press Ctrl + Shift + M).
- Set the top viewport dropdown from a phone preset to Responsive.
- Enter your target dimensions—such as 3840 by 2160 for 4K resolution, or 5000 by 4000 for print layouts.
- Click the three vertical dots in the device toolbar header, select Add device pixel ratio, and set the DPR value to 2 or 3.
Pan or zoom the map slightly so the engine fetches fresh, high-DPI assets for the new dimensions.
Capturing the raw image
Once all high-DPI map tiles load completely:
- With DevTools focused, press Ctrl + Shift + P (Windows) or Cmd + Shift + P (macOS) to open the Command Menu.
- Type screenshot into the search bar.
- Select Capture screenshot or Capture full size screenshot.
- The browser renders the emulated viewport and automatically downloads an uncompressed PNG file to your machine.
Taking full-page and custom region map captures
If you prefer an automated workflow without modifying browser developer options, dedicated browser extensions offer quick region captures.
Choosing canvas-compatible extensions
Basic screen capture tools often generate blank or transparent boxes when capturing dynamic HTML5 canvas elements. Extensions like GoFullPage, FireShot, and Nimbus Screenshot correctly process dynamic canvas elements, saving the full visual map as a single image.
Region capturing vs. automated scrolling
When capturing interactive maps, stick to Visible Area or Custom Region Selection capture modes.
Warning: Avoid automated full-page scrolling features on mapping sites. Scrolling automation depends on vertical document structures. Because web maps use fixed canvas frames, automated scrolling pans the map frame, creating misaligned tile seams, duplicate labels, and distorted graphics.
For the best result, switch your browser to full-screen mode (press F11), use the extension’s region selection tool to frame your target area, and export directly to PNG or PDF format.
Stitching multi-tile maps
When you need to cover a broad geographic area—such as a regional transit network or an entire park—without sacrificing street-level detail, a single screenshot is not enough. You need to combine multiple high-zoom views into one composite map file.
Automating exports with GIS software
Rather than manually screenshotting dozens of adjacent viewports and matching them in image editing software, use tools built to handle spatial data:
- QGIS (Quantum GIS): This free, open-source GIS application connects directly to XYZ map tile servers (including OpenStreetMap, Mapbox, and public satellite feeds). In QGIS, define bounding coordinates, select an output scale, set an export resolution (300 to 600 DPI), and export a single GeoTIFF or PNG without manual alignment.
- MapTiler and Static Map APIs: If you work with API keys, map providers offer static map endpoints that allow you to request bounding-box image renders up to specified pixel limits programmatically.
Maintaining projection and alignment
If you manually stitch map segments using graphic design software like Photoshop or GIMP, follow these guidelines:
- Lock your zoom level: Never change zoom levels between captures. Maintain an identical scale across every frame.
- Overlap captures by 20%: Give yourself overlapping landmarks along every edge to align seams accurately.
- Watch for projection distortion: Web maps run on the Web Mercator projection (EPSG:3857). Because scale distorts as you move away from the equator, pan strictly along horizontal and vertical lines to avoid diagonal alignment errors.
Attribution and copyright rules
Before publishing, printing, or distributing captured map images, verify that your image complies with the provider’s terms of service. Capturing a map via screenshot does not remove copyright obligations.
Personal vs. commercial usage
- Personal and internal use: Using map captures for travel planning, academic study, or internal business presentations generally falls under fair use guidelines.
- Commercial and public distribution: Using map captures on real estate marketing materials, published books, commercial sites, or merchandise requires compliance with specific commercial terms. Google Maps, for example, requires strict attribution placement and restricts unlicenced print runs beyond set volume limits.
Properly crediting providers
Most map providers require clear, legible attribution on or immediately adjacent to the map image:
- OpenStreetMap: Requires the explicit credit line
© OpenStreetMap contributorsalong with a link or reference to the Open Database License (ODbL). - Google Maps / Google Earth: Requires preserving both the “Google” logo and specific data partner notices (such as
Map data ©2024 Google, Maxar Technologies) displayed on the canvas.
If you crop these credits out during layout editing, manually re-insert them using a readable font near the corner of your final graphic.