
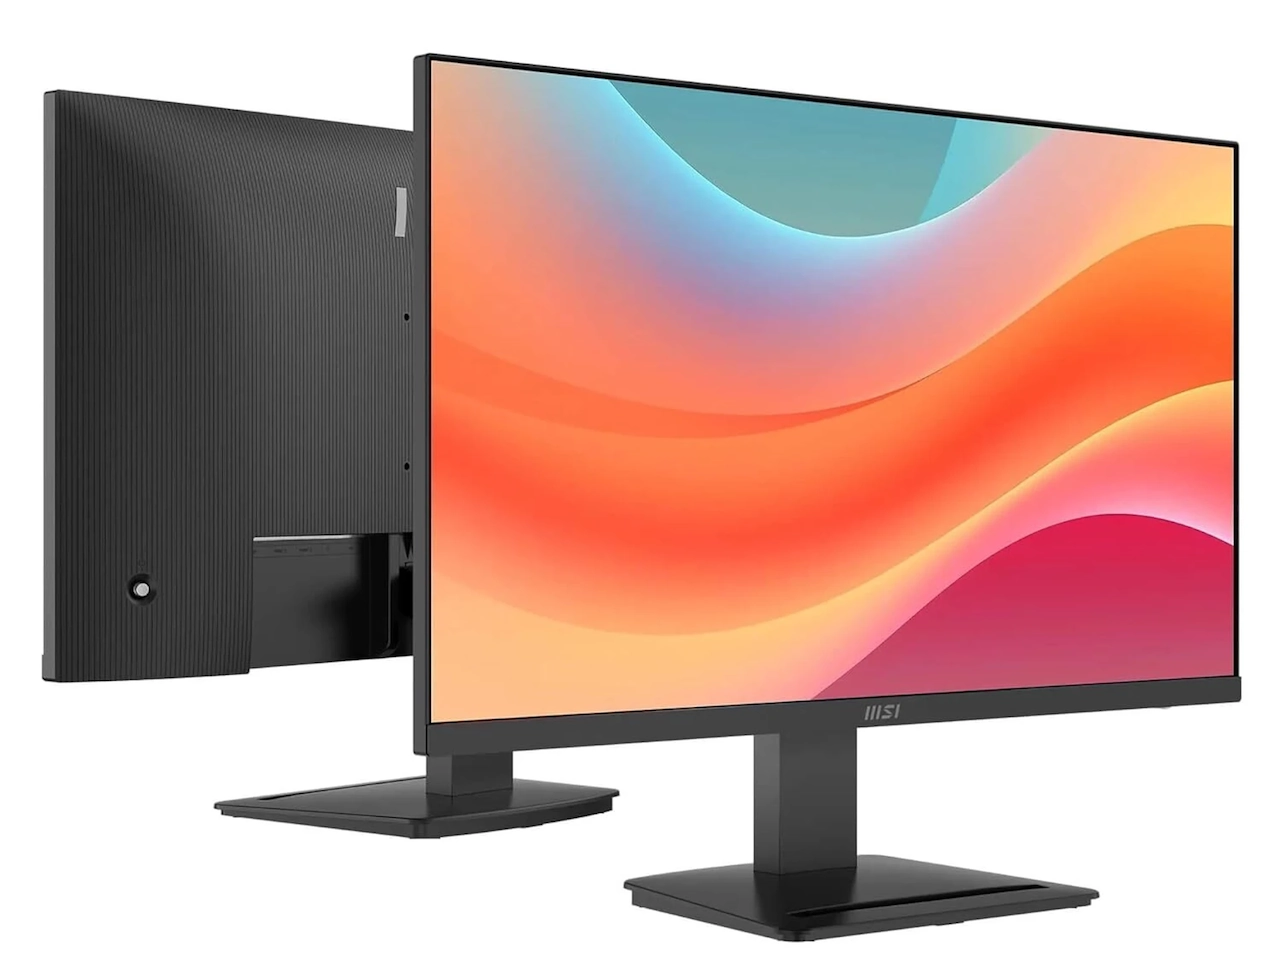
Working on a single screen feels like cooking a four-course meal on one tiny cutting board. Between shuffling browser tabs, buried spreadsheets, and constant Alt-Tabbing, screen space vanishes instantly. Adding a second monitor is the most cost-effective upgrade you can make to your desk setup, but getting the hardware and operating system to talk to each other isn’t always plug-and-play.
Whether you are connecting a desktop tower with a dedicated graphics card or squeezing an extra display out of a slim laptop, here is how to get your dual-monitor setup working cleanly on the first try.
Finding Video Ports Your PC or Laptop Already Has
Before buying a cable or a new display, check the back of your desktop or the sides of your laptop. Video ports are not all created equal, and where you plug in matters just as much as what cable you use.
On a modern laptop, you will typically find one or more of these ports:
- Full-Sized HDMI: The standard trapezoid port found on gaming laptops and thicker productivity notebooks.
- USB-C / Thunderbolt: Small, oval ports. On many current laptops, these support DisplayPort Alternate Mode (DP Alt Mode) or Thunderbolt, carrying high-resolution video alongside data and power. Look for a small DisplayPort “D” or lightning bolt icon next to the port.
- Mini-DisplayPort: A small, rectangular port with two notched corners, common on older laptops like earlier Microsoft Surface and MacBook models.
If you are using a desktop PC, check the rear panel carefully. You will usually see two separate port clusters, and plugging into the wrong one is the most common reason a secondary display stays black.
The Desktop Trap: Your motherboard has built-in video outputs (HDMI or DisplayPort) near the top panel alongside standard USB and audio jacks. However, if your PC has a dedicated graphics card (NVIDIA GeForce, AMD Radeon, or Intel Arc), those ports sit lower down in the horizontal expansion slots. You must plug all monitors directly into the graphics card. Installing a dedicated GPU usually disables the motherboard’s integrated ports automatically.
Pick the Correct Cables
Whenever possible, use a native connection—a cable with matching connectors on both ends, such as DisplayPort to DisplayPort or HDMI to HDMI. Native cables avoid internal conversion chips, lower input lag, and support higher refresh rates and HDR without unexpected glitches.
When mixing port types is unavoidable, here is how to connect them without sacrificing image quality:
- DisplayPort to HDMI: If your PC only has open DisplayPort outputs and your monitor only takes HDMI, buy an active DisplayPort-to-HDMI adapter or cable. Passive adapters work fine for basic 1080p at 60Hz, but active adapters include a chipset required to convert signals for 4K resolutions or high refresh rates (120Hz+).
- USB-C to DisplayPort / HDMI: For USB-C laptops, a direct USB-C to DisplayPort cable is generally more reliable than USB-C to HDMI, especially if you want high refresh rates or variable refresh rate tech (G-Sync or FreeSync).
- Single-Cable USB-C for Portable Monitors: Portable secondary screens often support USB-C Power Delivery and DP Alt Mode. A single high-bandwidth USB-C cable (rated for 10Gbps+ and 60W+ PD) can send the video signal and supply power simultaneously, eliminating extra power bricks.
Configure Windows Display Settings
Once your monitor is plugged in and turned on, Windows should detect it right away. By default, however, it may mirror your primary screen instead of expanding it.
To set up an extended desktop:
- Press Windows Key + P to open the quick Project menu.
- Select Extend to turn your second screen into an independent desktop space.
- Right-click any empty space on your desktop and select Display settings.
- At the top of the menu, you will see numbered rectangles representing your monitors. Click Identify to display large numbers on each screen so you know which is Display 1 and Display 2.
- Drag and drop the virtual screen boxes to match where your monitors physically sit on your desk. If your second screen is to the left or mounted above, move the box to match.
- Click Apply.
Matching your physical layout in this menu ensures your mouse cursor glides naturally across display borders without catching on invisible edges.
Set Up Multiple Displays on Laptops
Slim laptops often sacrifice legacy ports to keep profiles thin, leaving you with just one or two USB-C connections. If you need to drive multiple external screens from a single laptop, you have two primary options.
1. Powered USB-C and Thunderbolt Docking Stations
A powered dock connects to your laptop through one cable and breaks out into dual DisplayPort or HDMI ports, extra USB connections, Ethernet, and power delivery back to your machine. Windows laptops use Multi-Stream Transport (MST) to drive two independent displays over a standard USB-C dock. For macOS or high-end Windows setups running dual 4K 60Hz screens, choose a certified Thunderbolt 4 dock to ensure full video bandwidth.
2. DisplayLink Adapters for Base Apple Silicon Macs
Base-tier Apple Silicon laptops (including standard M1, M2, and M3 MacBook Air and 13-inch Pro models) natively support only one external display. To run two or more external screens on these machines, use a dock or adapter powered by DisplayLink technology.
DisplayLink converts the video feed into standard USB data packets processed by a lightweight background driver on macOS. While this adds a small amount of CPU overhead and isn’t designed for fast-paced 3D gaming, it works smoothly for spreadsheets, browser windows, code editors, and general productivity.
Troubleshoot “No Signal” Errors
If your second display stays black or looks blurry, try these targeted steps:
- Cycle the Input Source: Monitors with multiple inputs do not always auto-switch. Use the physical buttons on your monitor to manually select the correct input (such as HDMI 2 or DisplayPort 1).
- Force Windows Detection: Go to Settings > System > Display, scroll down to “Multiple displays,” and click Detect. This forces the graphics driver to rescan port connections if a monitor dropped out during sleep mode.
- Fix Blurry Text and Scaling Mismatches: When combining displays with different resolutions (like 4K and 1080p), text can look tiny or blurry on one screen. Select the affected display in Display settings, navigate to Scale, and adjust the percentage (100% for 24-inch 1080p, 125%–150% for 27-inch 4K). Log out and back in to apply the scaling evenly across legacy apps.
- Correct the Refresh Rate: High-refresh gaming monitors (144Hz or higher) often default to 60Hz when first connected. To unlock their full speed, select the display in Display settings, click Advanced display, and pick its maximum rate from the Choose a refresh rate menu.
- Update Graphics Drivers: If displays flicker or fail to wake up, download the latest display drivers directly from NVIDIA, AMD, or Intel instead of depending on basic Windows updates.